Water is patient, and if your yard doesn’t drain the way it should, it will eventually find its way into your home through your roof and siding. Many homeowners spend money fixing cracked siding or leaky rooflines without ever realizing the real problem is happening at ground level. Poor grading, clogged gutters, and pooling water near your foundation set off a chain reaction that can compromise your entire exterior. Understanding how these systems connect can help you catch small drainage issues before they turn into expensive repairs.
Sloped Yard Grading and Foundation Water Pooling
The ground around your house should slope away from your foundation at a rate of at least six inches over the first ten feet. When yards are graded flat or, worse, tilted toward the house, rainwater collects near the base of your walls instead of running off. This standing water seeps upward into siding panels and creeps behind trim boards, creating conditions for rot and mold that spread upward over time.
Fixing grading issues often requires bringing in additional soil or regrading sections of the lawn, but the payoff is a drier foundation and healthier siding. Homeowners who ignore this step often find themselves calling a siding contractor years later to replace panels that failed simply because water had nowhere else to go.
- Check for water pooling near the foundation 30 minutes after heavy rain
- Look for soil that slopes toward, rather than away from, your house
- Add topsoil gradually to correct minor grading problems
- Consider a French drain system for yards that stay consistently wet
Clogged Gutters and Overflowing Roof Edges
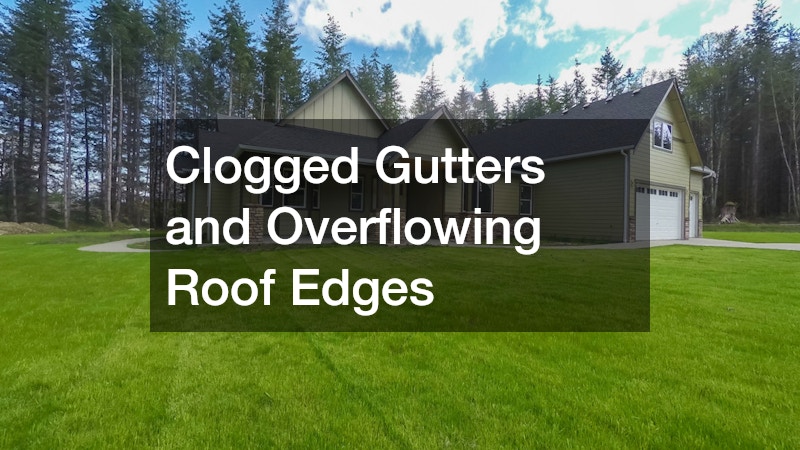
Gutters are your roof’s first line of defense against water damage, but they only work when they’re clear. When leaves, twigs, and granules from aging shingles pile up inside the gutter channel, water has nowhere to go but over the edge. That overflow runs directly down your siding and pools at the base of your home, undermining the drainage protection your gutters are supposed to provide.
Regular cleaning twice a year, in spring and fall, keeps water moving through the system the way it was designed to. Homes surrounded by tall trees may need more frequent attention, since pine needles and small branches clog gutters faster than broad leaves. A professional roofer can spot early warning signs like sagging gutter sections or separated joints during a routine inspection.
- Inspect gutters after major storms for debris buildup
- Install gutter guards to reduce the frequency of cleaning
- Watch for water stains on siding directly below gutter seams
- Check that downspouts extend at least four feet from the foundation
Seamless Gutter Systems and Long-Term Leak Prevention
Traditional sectional gutters have seams every few feet, and each seam is a potential failure point where water can leak through over time. A seamless gutter installation eliminates most of these joints by custom-fitting the gutter to your home’s exact measurements, leaving seams only at the corners. This design significantly reduces the chances of small leaks developing into larger drainage failures along your roofline.
Because seamless gutters are cut on-site to match your home, they also tend to hold up better against the freeze-thaw cycles that cause sectional gutters to warp and separate. Many homeowners find that upgrading during a gutter installation project pays for itself by reducing the frequency of repairs and preventing water damage to nearby fascia boards and siding panels.
- Seamless gutters reduce leak points compared to traditional sectional systems
- Custom fitting improves water flow efficiency during heavy rain
- Fewer seams mean less maintenance over the gutter’s lifespan
- Available in aluminum, copper, and steel to match different home styles
Downspout Placement and Water Discharge Points
Even a perfectly functioning gutter system can cause damage if the downspouts release water in the wrong place. Downspouts that dump water directly next to the foundation simply relocate the drainage problem rather than solving it. Over time, this concentrated flow erodes soil, undermines walkways, and pushes moisture toward the base of exterior walls and siding.
Extending downspouts with splash blocks or underground drainage pipes moves water well away from the house, where it can disperse safely into the yard or a designated drainage area. This is a simple, low-cost fix that many homeowners overlook until they notice erosion patterns or damp basement walls.
- Use splash blocks to direct water away from foundation plantings
- Consider underground drain pipes for yards with poor natural runoff
- Check downspout extensions after lawn mowing, since they’re easily knocked loose
- Redirect water toward storm drains or low-lying yard areas when possible
Roof Flashing Failures Caused by Standing Water
Flashing is the thin metal barrier installed around chimneys, vents, and roof valleys to keep water from seeping into seams and joints. When drainage problems cause water to linger on the roof longer than it should, flashing corrodes faster and loses its watertight seal. This deterioration often shows up first as small leaks in the attic or ceiling stains that seem to appear out of nowhere.
Because flashing damage isn’t always visible from the ground, an annual inspection by roofing contractors can catch corrosion or lifting edges before they lead to interior water damage. Addressing flashing issues early is far less expensive than repairing rotted roof decking or damaged insulation caused by prolonged leaks.
- Inspect flashing around chimneys and skylights each spring
- Look for rust streaks or discoloration near roof penetrations
- Replace cracked sealant around flashing edges promptly
- Pay special attention to valleys where two roof planes meet
Siding Material Damage from Prolonged Moisture Exposure
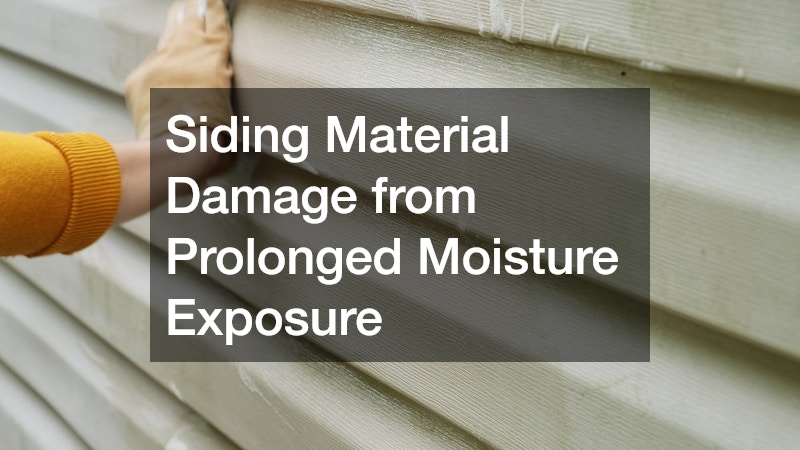
Different siding materials react to moisture in different ways, but none of them benefit from constant exposure to standing water or splashback. Wood siding is especially vulnerable to rot and warping, while vinyl siding can develop mold or mildew in the seams when water sits against it too long. Fiber cement holds up better against moisture, but even it can suffer cracking if water repeatedly freezes and expands behind panels.
When drainage problems go unaddressed for years, the damage often extends beyond the surface layer into the sheathing and framing underneath. At that point, a simple siding installation to replace a few damaged boards is no longer enough, and homeowners may need to bring in a siding company for a more extensive repair project. Catching moisture damage early through regular visual inspections can save significant money down the road.
- Check for bubbling, warping, or discoloration along the bottom edge of siding
- Look for soft spots when pressing gently on wood siding
- Watch for mildew streaks near ground level, a sign of persistent moisture
- Note any gaps or separation where siding meets the foundation
Basement and Crawl Space Moisture Linked to Yard Runoff
The same drainage failures that damage your roof and siding often show up below ground as well. Water that collects near the foundation due to poor grading or clogged gutters can seep into crawl spaces and basements, leading to musty odors, mold growth, and even structural concerns. This underground moisture is frequently the missing link homeowners overlook when troubleshooting exterior water damage.
Addressing the source of the runoff, rather than just sealing basement walls, tends to produce longer-lasting results. A whole-property approach that considers grading, gutters, and downspouts together prevents water from finding new paths into your home once one entry point is sealed.
- Watch for efflorescence, a white mineral deposit, on basement walls
- Install a sump pump if your yard has persistent drainage problems
- Grade soil away from crawl space vents and access points
- Check for condensation or dampness after heavy rain events
Exterior Door Thresholds and Water Intrusion Points
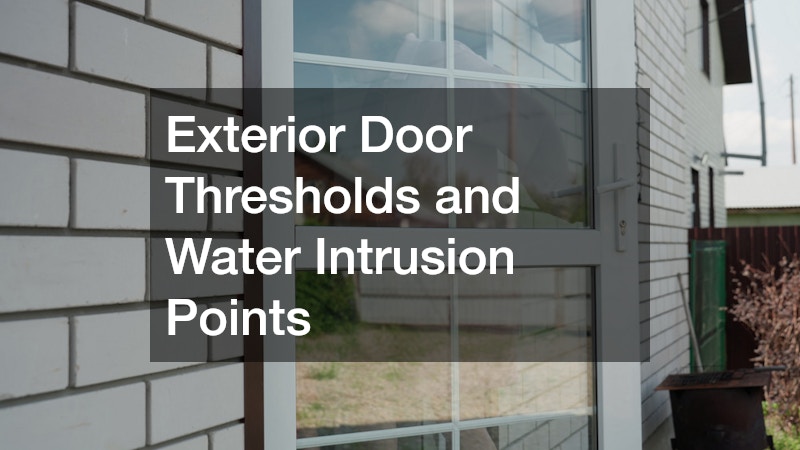
Doors sit close to ground level, which makes their thresholds particularly vulnerable when yard drainage pushes water toward the house. Over time, water pooling near entryways can warp door frames, rot wood thresholds, and compromise the weatherstripping meant to keep moisture out. This damage often spreads to nearby siding and trim, since the same water source affects multiple areas at once.
If you notice consistent water intrusion near an entry door, it’s worth consulting a local exterior door company to evaluate whether the threshold, flashing, or surrounding grading needs attention. In many cases, correcting the yard’s drainage pattern outside resolves the issue more permanently than repeatedly replacing weatherstripping or sealant indoors.
- Check door thresholds for soft or spongy wood
- Look for water stains on interior flooring near exterior doors
- Ensure exterior grading slopes away from entryways, not toward them
- Replace worn weatherstripping as part of routine home maintenance

Professional Roof Inspections for Long-Term Drainage Health
While homeowners can spot many drainage issues on their own—pooling water, sagging gutters, or stained siding—a full evaluation of how your roof handles water often requires a trained eye. A qualified roofing company can assess not just the shingles but also the underlayment, ventilation, and flashing that all play a role in how water moves off your home. They’ll also check less obvious areas like valleys, chimney flashing, and pipe boots, where small gaps can let water seep in unnoticed for months.
Most professionals recommend a roof inspection at least once a year, ideally in spring or fall, so any wear from seasonal weather can be caught before it worsens. During these visits, inspectors typically look for granule loss on shingles, soft spots in the decking, and signs of moisture in the attic that could point to a failing vapor barrier or inadequate airflow.
These inspections are especially valuable after severe weather, when hidden damage may not be visible from the ground. Hailstorms, heavy winds, and ice dams can loosen flashing or create small punctures that seem harmless at first but lead to significant leaks over time. Catching these problems early through a professional assessment can save homeowners thousands of dollars in repairs down the line.
Scheduling an inspection with a local roofing company every year or two helps catch small problems, like a lifted shingle or a clogged valley, before they become drainage failures that damage siding and interior spaces. Ideally, these visits should happen in spring and fall, timed around the seasons when storm debris and falling leaves are most likely to clog gutters and valleys.
Inspection Focuses and Targets
A thorough inspection typically covers more than just the shingles. A qualified roofing company will check flashing around chimneys and vents, examine gutter attachment points for sagging, and look for granule loss that signals aging materials no longer shedding water effectively.
Many companies offer these inspections at low or no cost, making them an easy way to stay ahead of costly repairs. Some even provide a written report with photos, which is useful documentation if you later need to file an insurance claim or negotiate repair costs.
It’s also worth asking your inspector to assess how well your roof’s drainage pattern lines up with your yard’s grading and downspout placement. Catching a mismatch early, before water has a chance to pool near the foundation or seep behind siding, can save homeowners thousands in structural repairs down the road.
- Schedule inspections in early spring and again in fall, plus after any major storm with hail, high winds, or heavy rain
- Have the inspector specifically check flashing, gutters, downspouts, and grading near the foundation, not just the shingles
- Ask about warranty coverage for both materials and workmanship, and get the terms in writing before repairs begin
- Request photos of any roof damage found during the inspection, including close-ups of trouble spots like valleys and seams
- Get a written estimate that separates drainage-related repairs from general roof maintenance
- Keep records of past inspections, repairs, and warranty documents for future reference or insurance claims
- Track recurring issues over time to spot patterns, such as the same corner flooding after every heavy rain
Poor drainage rarely announces itself with a dramatic failure; instead, it works slowly, wearing down your roof, siding, and foundation one rainstorm at a time. The good news is that most drainage problems are fixable once you know where to look, from regrading your yard to upgrading your gutter system. Taking the time to walk your property after a heavy rain and noting where water lingers is one of the simplest steps you can take toward protecting your home. If you’re unsure where your drainage issues are coming from, reaching out to a qualified professional for an inspection is a smart next move before small problems become expensive ones.